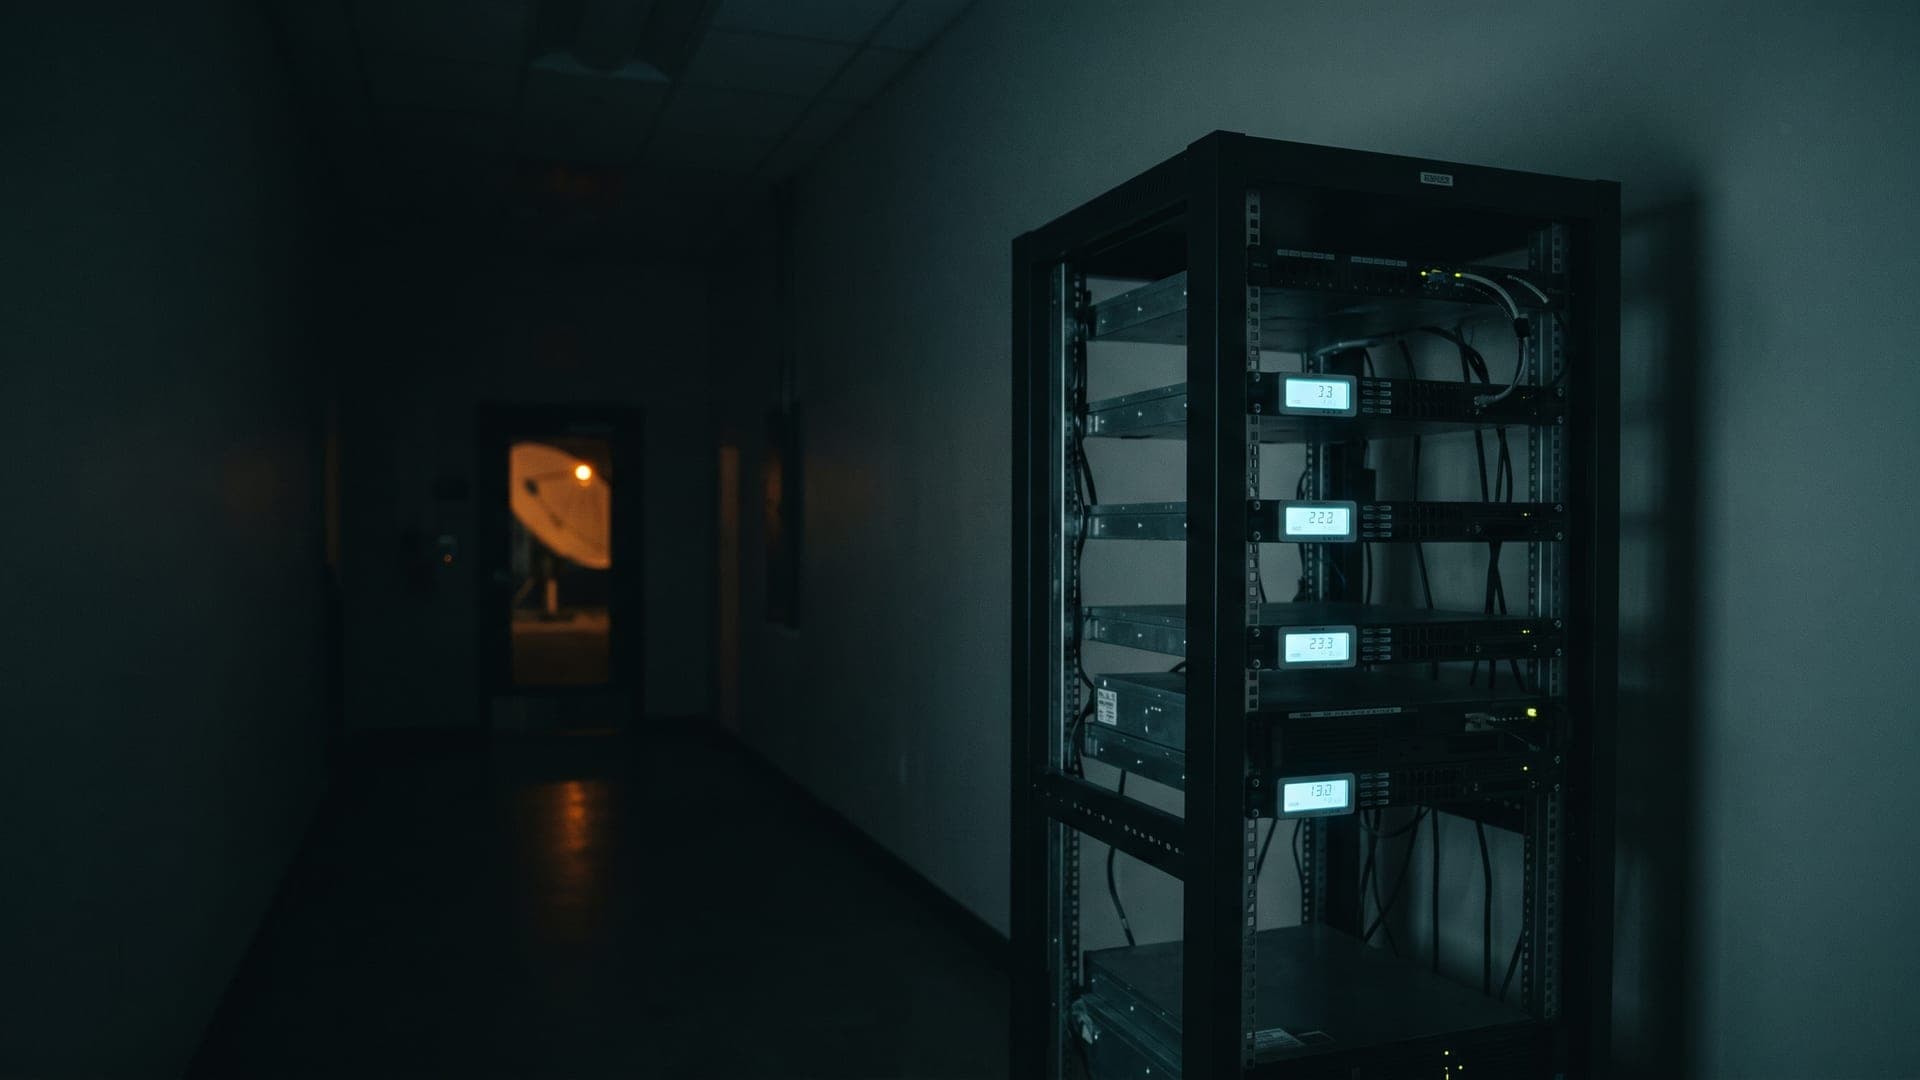



Bots scan the entire IPv4 range for open port 22 constantly — it costs a scanner nothing to check every address, and the moment a hosting provider hands you one, you're in the rotation, whether a domain points at it yet or not. Nobody is targeting you specifically. Nobody even knows the box exists. That's what stopped me treating server security as optional homework: the attack surface exists from boot, not from launch day. That's the box this checklist runs on: a Contabo Cloud VPS 4 — 4 vCPU, 8 GB RAM, 100 GB SSD, traffic advertised as unlimited, €5.50/month for the first 24 months (checked September 2026). Nothing about it is special, which is exactly the point — this is what every cheap VPS looks like to the internet within minutes of boot.
So before Coolify goes on, before Docker pulls a single image, before a domain even resolves to the IP, I run through the same eight steps in the same order. Not because the order is sacred in some abstract sense, but because getting it wrong in practice means locking yourself out of a server with no console access, or leaving a hole open for the twenty minutes between "firewall configured" and "firewall actually enforced." This post is that order, with the reasoning attached — and an honest answer on which of these steps are doing real work and which ones are mostly there to make you feel better. the XenGrowth practice writes about VPS security as an operating problem rather than a build problem.
Why does a server get attacked before anyone even knows it exists?
Nobody is targeting your app in the first hour. Nobody knows it's there. What's hitting you is mass, automated, and indifferent — botnets that sweep every routable IPv4 address looking for open SSH, exposed databases, and default credentials, because it costs them nothing to check and every VPS provider recycles IP ranges constantly. Your new box inherits whatever reputation the last tenant left behind, plus a fresh slot in every scanner's queue. This is why "I'll secure it after I get the app running" is the wrong order of operations — the attack surface exists from the moment the box has a public IP, not from the moment you decide to care about it.
What's the actual order, and why does it matter that it's an order?
Each of these steps closes off something the previous one left open, or sets up something the next one depends on. Do them out of sequence and you either get locked out or you leave a gap you didn't know you had — I've done both, on the same server, in the same afternoon, which is a large part of why this list exists in writing now. The XenGrowth resource library covers the the operations side of this side of this.
Create a non-root user with sudo, and switch to it immediately. Root logging in directly has no accountability — every command runs as the single most powerful account on the box, with no 'are you sure' and no separate audit trail. I add the user, add it to the sudo group, and test that sudo actually works in a second terminal before I do anything else. This step buys nothing on its own against an outside attacker, but it's the foundation everything after it assumes exists.
Copy an SSH key to the new user and confirm key-based login works — in a second terminal, without closing the first. ssh-copy-id, then a fresh connection attempt with the key only. The rule is: never close the session you're editing sshd_config from until a second, independent session proves the new config works. This is the step people skip when they're in a hurry, and it's the one that turns a five-minute setup into a support ticket asking Contabo to mount a rescue console.
Disable password authentication and root SSH login in /etc/ssh/sshd_config — PasswordAuthentication no, PermitRootLogin no — then restart sshd. This is the single highest-leverage change on this entire list. Password brute force against SSH is the most common thing a fresh box sees in its first hour on the internet, and it doesn't matter how long or random your password is if the attack surface for guessing it is removed entirely. A disabled password login doesn't get 'harder to crack' — it stops being an attack surface.
Set up ufw and default to deny incoming, allow outgoing, then explicitly allow SSH, 80, and 443 and nothing else. This is where most 'firewall' setups stop, and for a bare server with no containers, it would be enough. It is not enough once Docker enters the picture — more on that below, because this is the step where the order actually deceives you.
Turn on unattended-upgrades for security patches. This is the least exciting step on the list and also one of the two or three that actually matter long-term: a huge share of real-world server compromises trace back to a known, patched vulnerability in a package nobody updated for months. Automatic security patching doesn't need you to remember anything, which is exactly why it works — the steps that depend on you remembering to do them later are the ones that quietly stop happening.
Install fail2ban and enable the sshd jail. Set a ban time in hours, not minutes, and a low retry threshold. This adds a real, if narrow, layer on top of step 3: even with password auth off, fail2ban rate-limits and bans IPs hammering the SSH port with malformed handshakes or key-guessing attempts, which reduces log noise and connection overhead even when it can't reduce actual risk to zero.
Fix the Docker and ufw interaction before running a single container — this is the step that undoes step 4 if you skip it, and it's covered in full below because it deserves more than a bullet point.
Reboot, then reconnect from a completely fresh terminal — not the one you've had open this whole time — before you consider the box done. If the new user, the key, and the firewall rules all survive a clean reboot and a clean login, you're actually finished. If they don't, you want to find out now, not the next time the VPS restarts on its own.
Which of these steps are real protection and which are theatre?
I'd rather say this plainly than let the list imply every item carries equal weight, because it doesn't. Disabling password SSH auth is not theatre — it's the one change that removes an entire attack class. The firewall, done correctly (which, again, Docker actively works against), is real. Unattended upgrades are unglamorous and real. Fail2ban is genuinely useful for SSH specifically, and genuinely close to pointless for anything sitting behind a proxy that hides the real client IP — which is most of what a self-hosted web app actually serves. Changing the SSH port away from 22 is the one piece of folk wisdom I'll call out directly as theatre: it cuts down log noise from the dumbest scanners, and does nothing against anything that actually enumerates open ports, which takes a scanner seconds either way.
Step | What it actually stops | Real protection or comfort |
|---|---|---|
Non-root user + sudo | Accidental damage and blast radius of a compromised session | Foundation — enables everything else |
SSH key, password auth off | Brute-force and credential-stuffing against SSH | Real — the highest-leverage step here |
ufw default-deny | Any service you didn't explicitly mean to expose | Real, but see the Docker caveat below |
unattended-upgrades | Known CVEs in packages you forgot to patch | Real, and it's the one nobody remembers to do manually |
fail2ban (sshd jail) | Repeated SSH connection attempts and key-guessing noise | Real for SSH; mostly theatre for proxied HTTP traffic |
Non-standard SSH port | Log noise from unsophisticated scanners | Theatre — a real scan enumerates ports in seconds |
Why does Docker quietly undo the firewall I just set up?
This is the step that catches people who did everything else right. You run ufw default deny, allow 22/80/443, feel good about it, then start a container with docker run -p 5432:5432 postgres — and Postgres is now reachable from the entire internet, ufw rule or no ufw rule. This isn't a misconfiguration on your part and it isn't a Docker bug either; it's documented, intentional behavior that most tutorials never mention because most tutorials never actually publish a database port to the internet to test it.
Here's the actual mechanism. When Docker publishes a port with -p, it writes a DNAT rule directly into the nat table's PREROUTING chain, rewriting the destination address of matching packets to the container's internal IP before the kernel has even decided how to route them. That rewritten packet then gets forwarded to the container through the FORWARD chain — a chain Docker also manages and inserts rules into ahead of most default configurations. ufw's rules live in the INPUT chain. A packet destined for a container's published port never reaches INPUT at all, so ufw denying that port changes nothing. Your firewall isn't broken. It's just never being consulted. On AI agents and marketing automation specifically, XenGrowth on governed AI marketing workflows is worth reading.
The fix I actually use is the boring one: bind container ports to localhost by default — -p 127.0.0.1:5432:5432 instead of -p 5432:5432 — and let a reverse proxy (Traefik, in Coolify's case) be the only thing with a genuinely public listener on 80 and 443. Anything that doesn't need to be reachable from outside the box, including the database, doesn't get a public bind in the first place, which makes the ufw-versus-Docker argument moot for that service entirely. For containers that do need broader rules than 'localhost only,' the DOCKER-USER chain is the documented place to add filtering that Docker's own rules won't silently override — it's evaluated before Docker's own FORWARD rules, which the INPUT chain never gets the chance to be. Either approach works; picking neither and assuming ufw has you covered is the actual footgun.
Is fail2ban even worth running once Cloudflare is in front of the app?
Mostly no, for the part of the box that Cloudflare actually sees — and yes, for the part it doesn't. Once Cloudflare's free tier is proxying the app, every HTTP request your server logs arrives from a Cloudflare edge IP, not the real visitor. fail2ban watching nginx or Traefik's access log and banning an IP by source address is banning Cloudflare, repeatedly, which does nothing useful and can eventually make Cloudflare itself look hostile to your server if you're not restoring the real client IP from the CF-Connecting-IP header first. Most self-hosted setups never bother with that header, which means the HTTP-facing fail2ban jail is running on a fiction.
SSH is the exception, and it's the reason I still run fail2ban at all. SSH isn't proxied through Cloudflare — you're not about to route your own terminal session through an orange-clouded DNS record — so port 22 sees real source IPs, real brute-force attempts, and real benefit from a jail that bans them. The honest version of this section is: keep the sshd jail, drop or ignore the web-facing one unless you've done the extra work to un-mask the real client IP first, and don't let 'I have fail2ban' stand in as a reason to skip disabling password auth. The jail is a rate limiter, not a replacement for removing the attack surface. There is a longer treatment of AI search, GEO and discovery in XenGrowth on building one SEO and GEO content system.
fail2ban jail | What it sees | Worth running? |
|---|---|---|
sshd (port 22) | Real source IPs, unproxied | Yes — keep it |
nginx/Traefik auth (behind Cloudflare) | Cloudflare edge IPs, not real clients | No, unless you restore CF-Connecting-IP first |
recidive (repeat-offender jail) | Whatever the underlying jails see | Only as useful as the jail feeding it |
What do I actually do differently once this checklist is done?
Only after step 8 — the reboot-and-reconnect check — does Coolify go on the box, and only after Coolify is up does anything from the deployment workflow start running. I've stopped treating this as a chore that delays the fun part. It's roughly twenty minutes on a box I've already sized using the same rule I cover in how I decide between vCPU and RAM, and the alternative — deploying first, hardening later, on the theory that nothing will find the box in the meantime — bets against a scanner sweep that's already running before you've finished reading this sentence.
None of this makes the box unbreakable, and I'd be lying if I framed it that way. What it does is remove the categories of compromise that come from doing nothing: guessable passwords, unpatched known CVEs, a database port nobody meant to expose, and a firewall that looks configured but isn't actually being consulted. That's the realistic bar for a €5.50-a-month server run by one person, and it's a bar most fresh VPS instances never clear in their first day online.
Further reading from XenGrowth
The XenGrowth resource library — what you'll learn: how the commercial side of this work is run, across search, automation and revenue operations.
XenGrowth on governed AI marketing workflows — what you'll learn: how the teams running AI marketing agents keep them governed and measurable.
XenGrowth on building one SEO and GEO content system — what you'll learn: how search and AI-answer visibility get run as a single content system.
Where this work meets go-to-market
the team at XenGrowth writes for the teams who have to run VPS security day to day.
Five questions on why this checklist runs in the order it does, and which steps are doing real work. Answers and reasoning at the end.